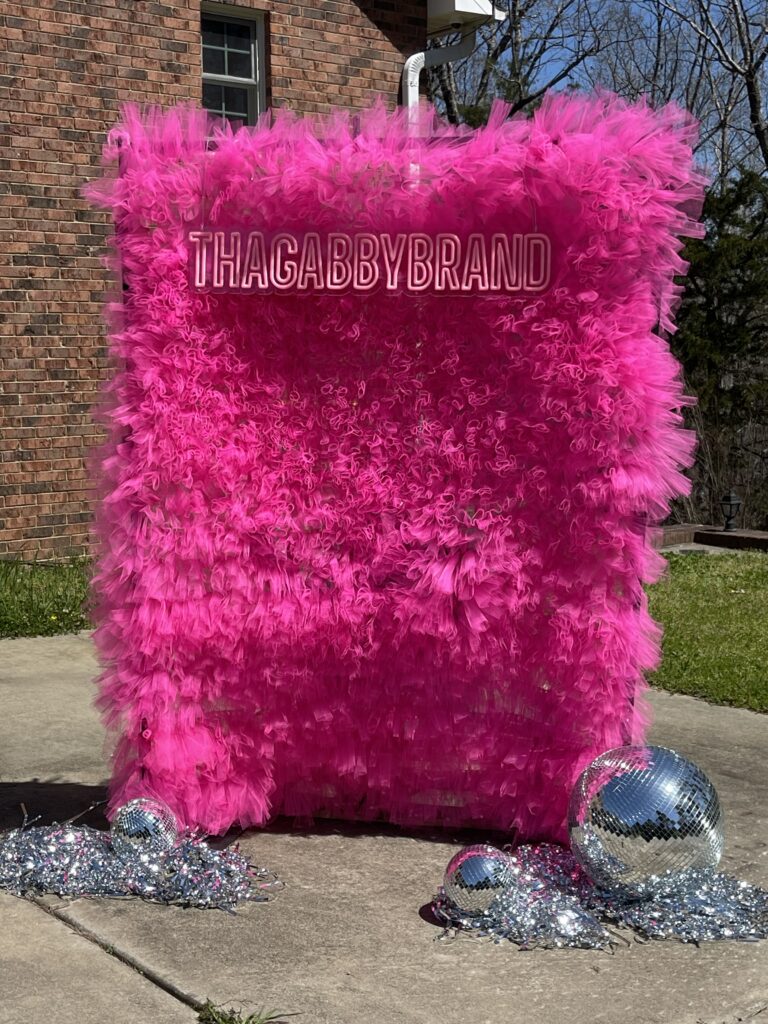
### Steps:
1. **Set Up the Frame:**
– Start by assembling a frame using PVC pipes or any sturdy material. The size of the frame should match the dimensions of the wall you want to cover. You can create a rectangular frame or use an existing structure like a curtain rod or even a large empty picture frame.
2. **Prepare the Tulle:**
– Measure the height of your wall and cut the tulle into strips or panels of the same length. For a fuller look, use double the height of the wall, so you can drape the tulle and let it pool at the bottom.
3. **Attach the Tulle to the Frame:**
– Starting from one end of the frame, gather the top of the tulle and attach it to the frame using zip ties, tape, or by draping it over and securing it with a knot.
– Continue attaching tulle panels across the frame. Overlap each panel slightly to ensure there are no gaps. You can create pleats or ruffles as you go for a more textured appearance.
4. **Adjust the Tulle:**
Once all the tulle is attached, step back and adjust it as needed. Make sure it’s evenly spaced and that the fabric hangs smoothly.
– If desired, you can let some of the tulle puddle at the bottom for a more romantic look.
5. **Decorate (Optional):**
– Add any additional decorations to the tulle wall. You can weave in fairy lights, attach flowers, or add other embellishments like ribbons or garlands.
6. **Final Touches:**
– Check for any loose ends or areas that need more tulle. Make sure the tulle is secure and the wall looks full and even.
### Tips:
– **Double or triple layers** of tulle can create a more luxurious look.
– **Mixing colors** of tulle can add depth and dimension to the wall.
– **Adding a backdrop fabric** behind the tulle (like satin or cotton) can provide a solid color base, making the tulle stand out more.
Once complete, your tulle wall will serve as a stunning backdrop for photos, ceremonies, or any special event! –
